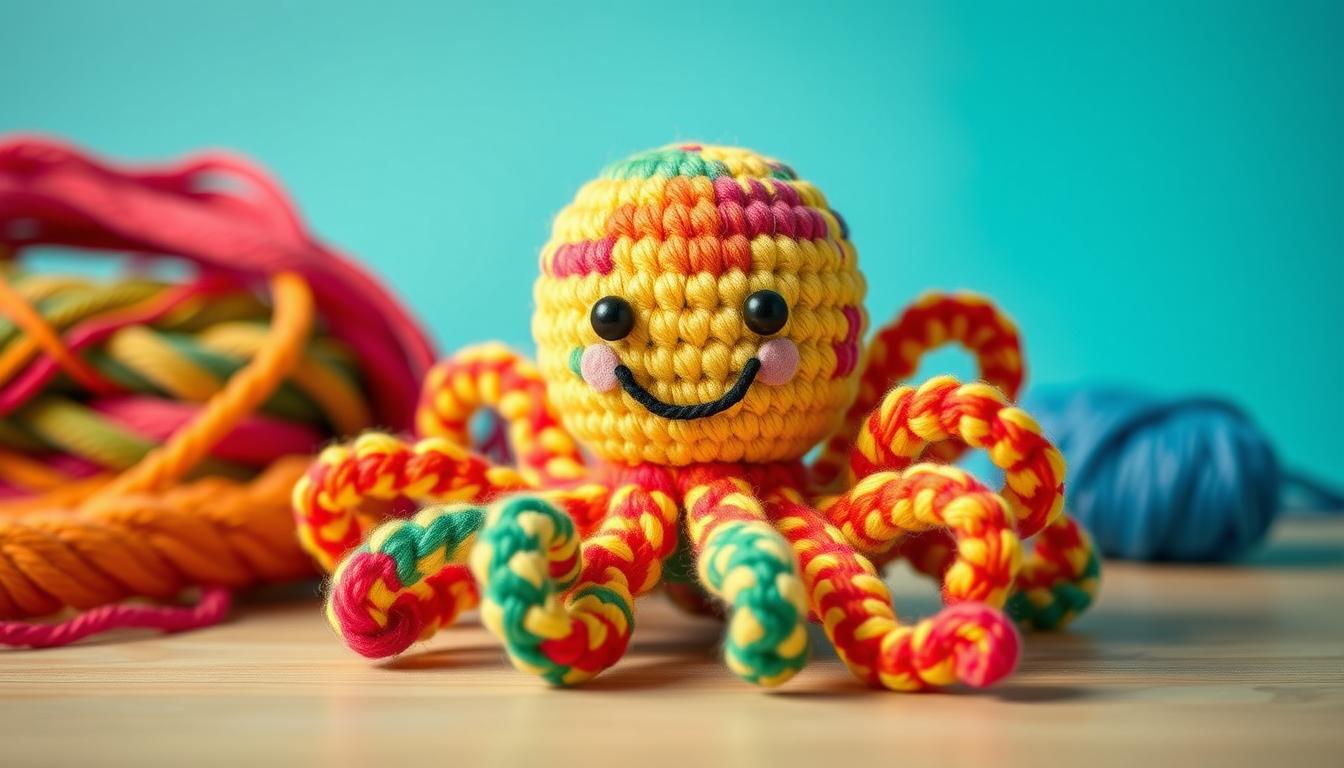
Create Adorable Amigurumi: A Step-by-Step Guide to Crafting No-Sew Mini Octopuses!
If you’re looking for a charming and fun crochet project, mini octopuses, or "Otos," are a fantastic choice! These adorable creations make for delightful gifts, toys, or decorative pieces and require no sewing to assemble. Whether you are a seasoned crocheter or a beginner, this guide will walk you through step-by-step instructions to create your very own mini octopus using basic crochet techniques and materials.
Materials Needed
To get started with your mini octopus, you will need the following materials:
- Yarn: Use a size 6 plush yarn (like Sweet Snuggles) in your chosen color.
- Crochet Hook: A size J (6.5 mm) crochet hook.
- Stitch Marker: This helps keep track of your rounds.
- Scissors: For cutting yarn.
- Stuffing: Use fiberfill or any soft stuffing material.
- Plastic Safety Eyes or felt for eyes (optional).
- Hot Glue: For securing the eyes to the body (if using plastic safety eyes).
Step-by-Step Instructions
Follow these steps to crochet your own no-sew mini octopus:
1. Create a Magic Ring
Start with a magic ring technique to form the base of your octopus:
- Make a magic ring and secure it with a chain one.
- Single crochet 8 stitches into the ring. Use your stitch marker to mark the first stitch.
2. Round Increases
For the second round:
- Increase by crocheting two single crochet stitches into each stitch, which will bring your total to 16 stitches.
3. Continue Rounds
For rounds three to six, simply single crochet into each stitch around. Remember to move your stitch marker up at the end of each round. You should still have 16 stitches by the end of round six.
4. Decrease the Stitches
In the next round:
- Move your stitch marker to the front loop of your last stitch.
- Back loop only, decrease single crochet all the way around to end with 8 stitches.
5. Attach the Tentacles
Now it’s time to create the octopus’s tentacles:
- Cut your yarn and pull the tail through the last loop.
- In the front loops, chain five and then increase (two single crochet) in the second chain from hook, followed by an increase in the next two chains. Slip stitch into the last chain.
- Slip stitch into the next two loops on the body.
Repeat these steps to create all eight tentacles.
6. Finishing Touches
- Once all tentacles are attached, slip stitch into the first front loop where your stitch marker is placed.
- Cut the yarn, pull the tail through, and tie the two yarn ends together, hiding them into the body of the octopus.
- Place the plastic safety eyes about three stitches apart in round four. Before adding the backs, use a bit of hot glue for extra security.
7. Stuff and Close
- Add stuffing to the body until it’s nice and smooth.
- Close the opening, ensuring it’s firmly shut.
8. Optional Accessories
If desired, you can add a string or clip to hang your adorable octopus. Customize your creation further by using different yarn colors or adding embellishments!
Final Thoughts
Crocheting these mini octopuses is a delightful way to practice your skills and create something cute and useful. The no-sew technique makes it an easy project for beginners, while the charming end result is sure to please anyone who receives one. Don’t forget to share your creations with family and friends, and happy crocheting!
If you enjoyed this guide, feel free to leave comments or questions, and stay tuned for more crafting tutorials. Your next adorable project might be just around the corner!